Budget Studio Setup for Video Recording: Build a Creator Studio Around Your Smartphone
You don’t need a £1,000 camera, a dedicated studio or a room full of professional equipment to start making good video. A modern smartphone can already deliver excellent 4K footage, while a few inexpensive accessories can transform it into a surprisingly capable video studio. The biggest improvements often come from better lighting, cleaner audio and keeping the camera steady, rather than buying a more expensive camera.
This guide builds a budget-friendly setup around a smartphone, with optional upgrades for creators who eventually want a dedicated camera.
Article Summary
- Start with the smartphone you already own: modern phones can produce excellent video without the need for a dedicated camera.
- Improve audio first: a good Bluetooth/wireless microphone can make a bigger difference to perceived video quality than upgrading the phone.
- Add stability: a tripod and phone clamp provide consistent framing for talking-head videos, tutorials, interviews and presentations.
- Use a gimbal for movement: ideal for walk-and-talk videos, demonstrations, travel content and smoother handheld footage.
- Get the lighting right: an affordable LED light can dramatically improve skin tones, detail and overall production quality.
- Add a Bluetooth remote: start and stop recording without having to reach for the phone, making solo filming much easier.
- Consider a dedicated camera: if you want better low-light performance, interchangeable lenses, greater control or a more traditional filmmaking workflow, a budget mirrorless or compact video camera is the next step.
- Keep the setup portable: the whole kit can be built around a small bag, making it suitable for a home studio, office, travel or filming on location.
- Spend where it matters: prioritise audio, lighting and stability before spending hundreds on a camera upgrade.
The result: a simple, affordable creator setup that can take you from recording your first YouTube video to producing polished tutorials, product reviews, social media videos and professional presentations — without needing a dedicated studio.
1. Smartphone — Start With the Camera You Already Own
The smartphone is the foundation of the setup. Recent iPhones, Samsung Galaxy phones, Google Pixels and other flagship and upper-mid-range Android phones can produce excellent video without any additional camera hardware. For talking-head videos, tutorials, product demonstrations, social media content and YouTube, the phone’s main camera is usually more than capable.
The important thing is to use the rear camera where possible. It generally offers better image quality than the front-facing camera. A tripod and remote shutter make this much easier because you can frame yourself before recording.
What to look for
- 4K video recording
- Good autofocus
- Optical image stabilisation
- 60fps recording if you want smoother motion
- USB-C connectivity
- Enough storage for video
- A camera app that gives manual control if required
Don’t buy a new phone specifically for your studio unless your existing phone genuinely struggles with video. Put the money into lighting and audio first.
2. Wireless Microphone: The Biggest Audio Upgrade
If there is one accessory I would prioritise after the phone itself, it is a wireless microphone. The phone may produce excellent video, but built-in microphones are positioned several feet away when you’re recording yourself. That distance creates room echo, background noise and inconsistent volume. A small wireless lavalier microphone clips to your shirt and places the microphone much closer to your mouth.
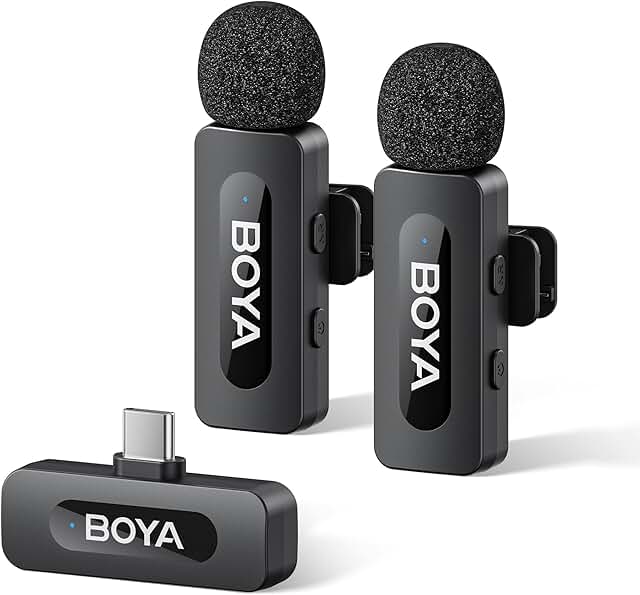
BOYA BY-V20
The BOYA BY-V20 is an inexpensive way to add wireless audio to a smartphone-based setup. It is particularly attractive for creators who want to keep the initial investment low.
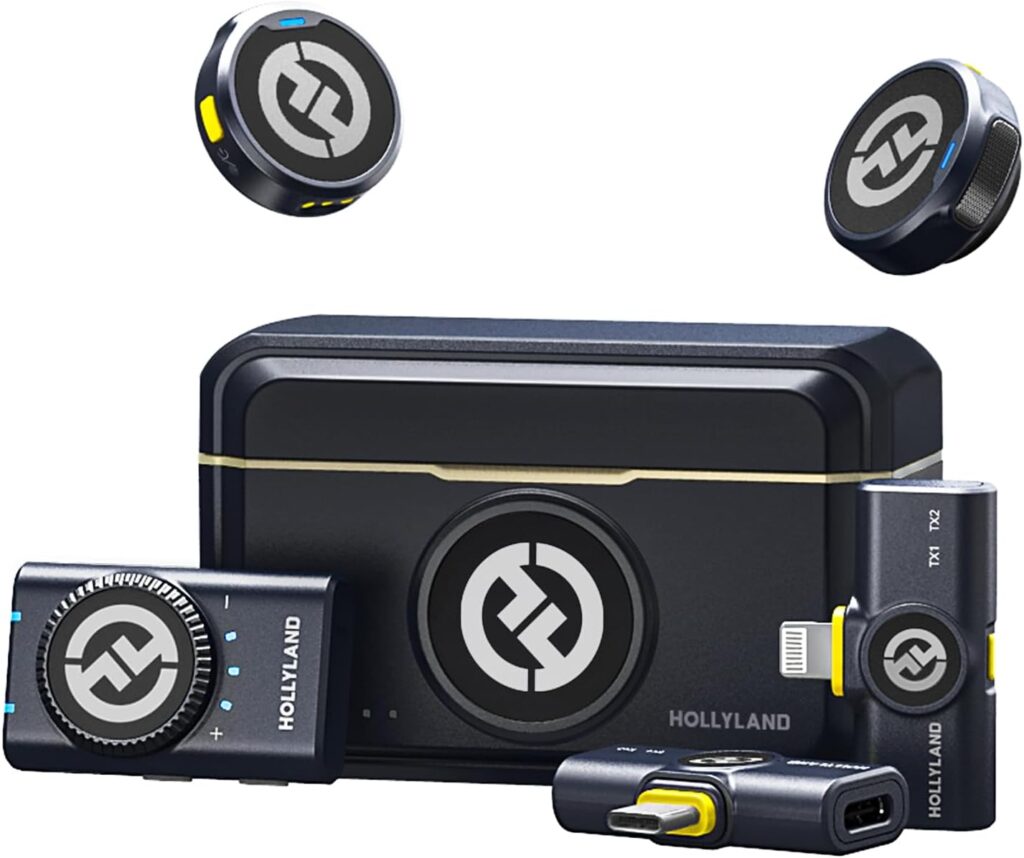
Hollyland Lark M2
The Hollyland Lark M2 is a more polished option for creators who expect to produce regularly. Its compact transmitters, wireless connection and broad device compatibility make it suitable for YouTube, interviews, presentations and mobile recording.
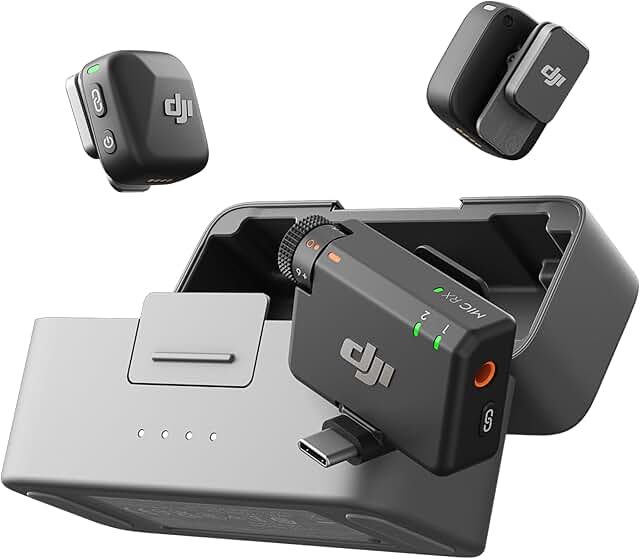
DJI Mic Mini
The DJI Mic Mini is another step up if you want a more comprehensive system, including two transmitters and onboard recording. The original DJI Mic Mini includes two transmitters, a receiver, charging case and adapters for USB-C and Lightning devices.
3. Smartphone Gimbal: Smooth Moving Video
A gimbal isn’t essential for a studio talking-head setup, but it becomes extremely useful if you want to film, Walk-and-talk videos, Travel content, Product demonstrations, Behind-the-scenes footage, Tours, Outdoor videos or Moving presentations. A three-axis gimbal compensates for movement and produces much smoother footage than simply holding the phone.
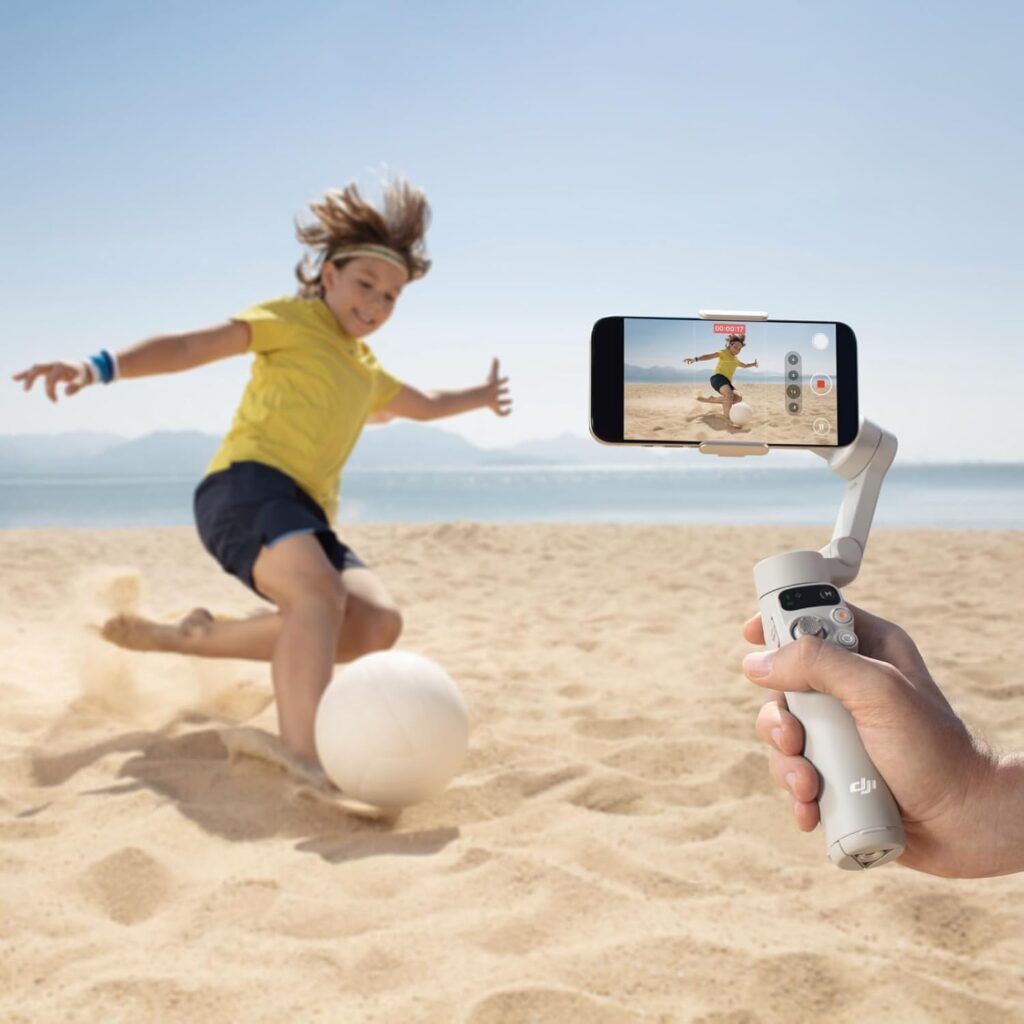
DJI Osmo Mobile 7 Gimbal Stabiliser
The Osmo Mobile 7 is particularly interesting because it combines three-axis stabilisation with subject tracking, a built-in tripod and a foldable design. It weighs in at around 300g and includes a magnetic phone clamp.
A gimbal isn’t necessary if your videos are mainly recorded from a fixed position. Put the money towards lighting instead.
4. Tripod: The Foundation of the Studio
For talking-head recording, tutorials and presentations, a tripod is arguably more useful than a gimbal. A good tripod gives you consistent framing, stable footage, adjustable height, landscape or portrait recording and hands-free recording.
VIMOSE 62-inch Phone Tripod
An all in one solution that combines selfie stick and a tripod with detachable phone mount and remote shutter control.
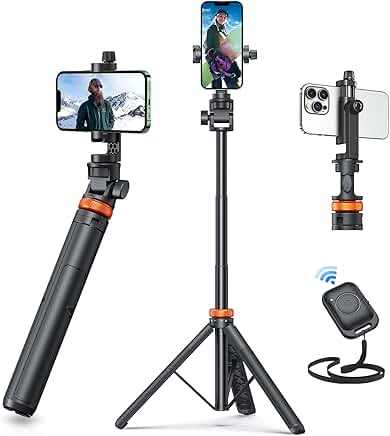
Killing Three Birds with One Selfie Stick – not a nice phrase and we wouldn’t recommend killing any birds at all, especially not with a selfie stick BUT this phone tripod does offer three different solutions that we recommend here; tripod, phone clamp and remote shutter. Simply put, instead of buying three different things to help with your studio setup, this one selfie stick will conquer it all.
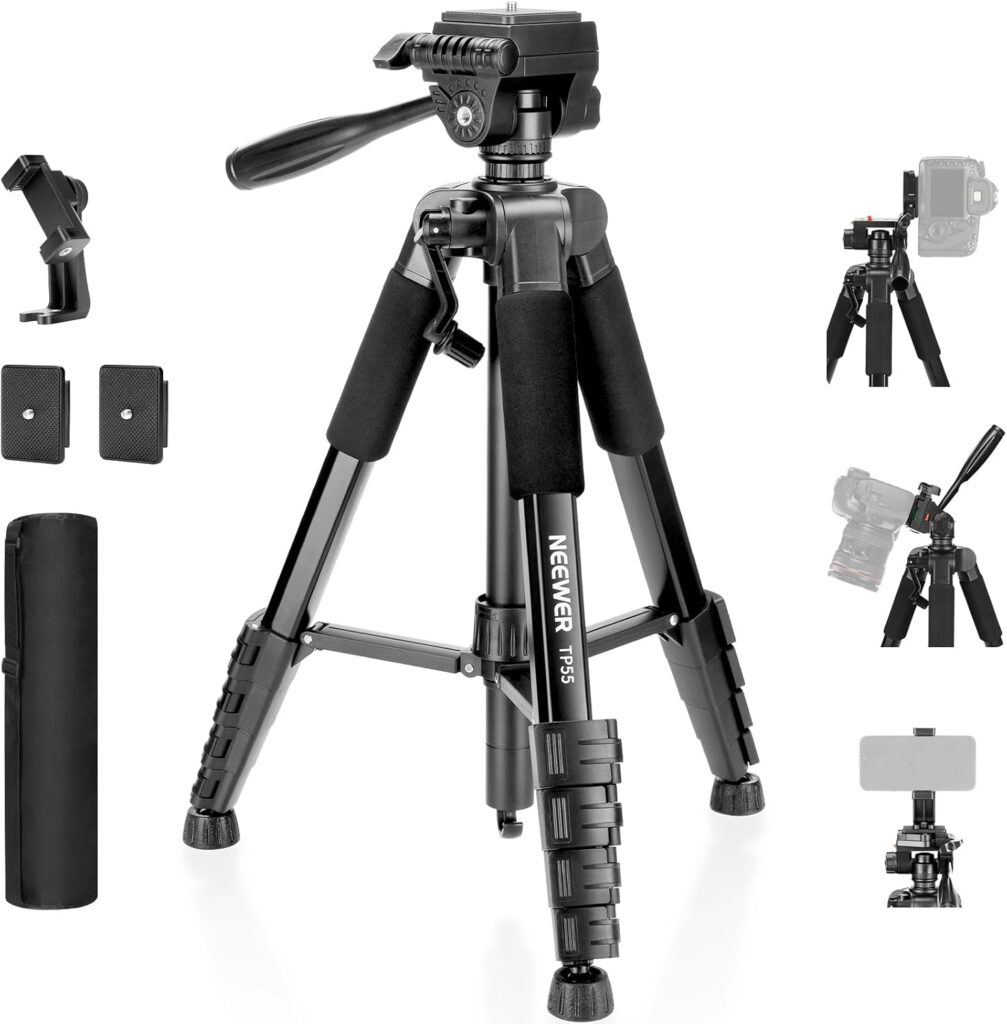
NEEWER TP55 75-inch Tripod
NEEWER TP55 75-inch All Metal Conventional Tripod for a more stable and professional solution. The tripod comes with two quick release plates and a smartphone holder.
For a permanent home studio, I’d favour the latter, a full-height tripod. For travel, a smaller table top or selfie stick convertible tripod can be much more convenient.
5. Phone Clamp: Mount the Smartphone Securely
You need a proper phone holder between the smartphone and tripod. This may already be included with tripods made for smartphones above and chances are you are also going to get a Bluetooth wireless shutter remote with it which means choosing the right Tripod for your smartphone will mean leaving 5 and 7 out of this list.
This is an inexpensive accessory, but it is worth buying a decent one. Cheap clamps can loosen, rotate or make it difficult to position the phone precisely.
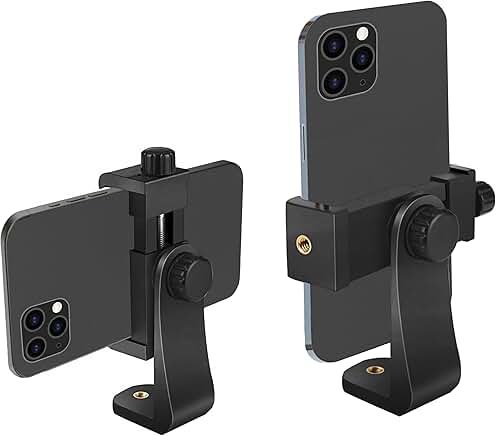
Ailun Phone Holder
The Ailun is a budget phone holder for a creator setup because. It is pretty basic making using it a no brainer. For the clamp, it uses a screw mechanism which I prefer over a spring loaded one.
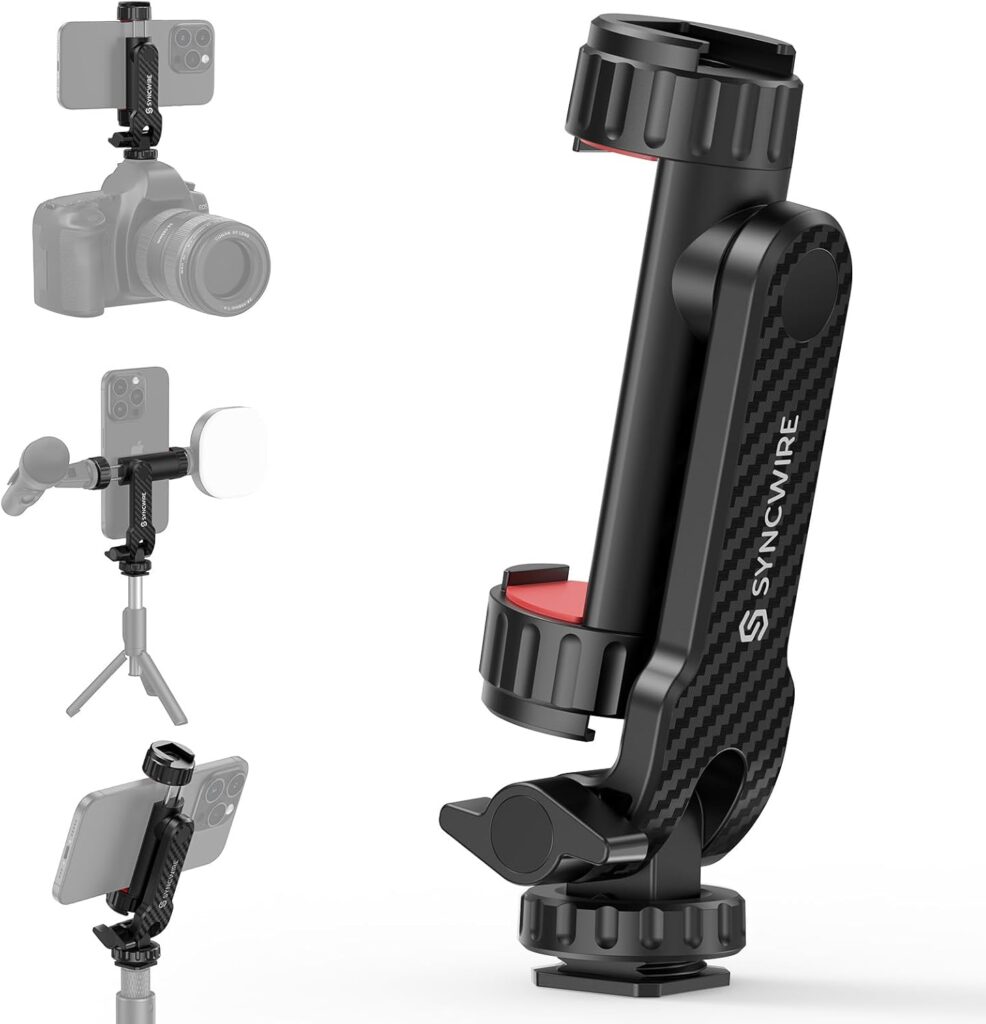
SYNCWIRE Tripod Phone Mount
The Syncwire tripod phone mount is another plastic mount that can accommodate accessories such as a small microphone or light through its cold-shoe mounts. It uses a spring loaded clamp and offers tilt and rotate adjustments.
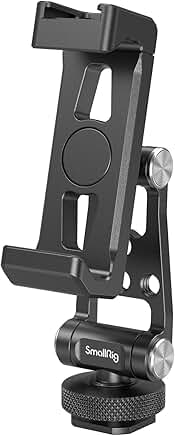
SmallRig Metal Phone Holder
The SmallRig option with cold shoe mount makes sense for a more permanent rig where you’re repeatedly mounting the phone and accessories. It also allow for tilt and rotate adjustments.
When buying phone holder or mount, make sure it is the right fit for your existing accessories such as tripod.
6. Lighting: The Secret to Better-Looking Video
Lighting can make a £500 phone look better than a £2,000 camera recorded under poor lighting. For a basic studio, position your main light slightly above eye level and roughly 45 degrees to one side of your face. Avoid putting a bright window directly behind you. You don’t necessarily need an expensive softbox. A small LED panel can already make a considerable difference.
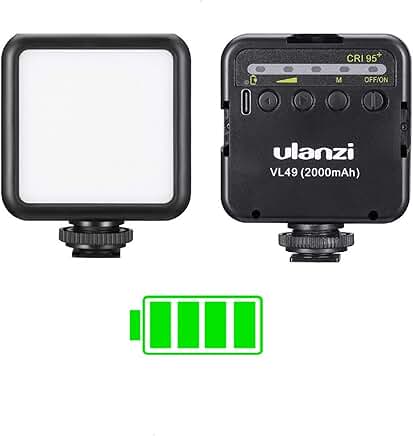
Budget pick: Ulanzi VL49
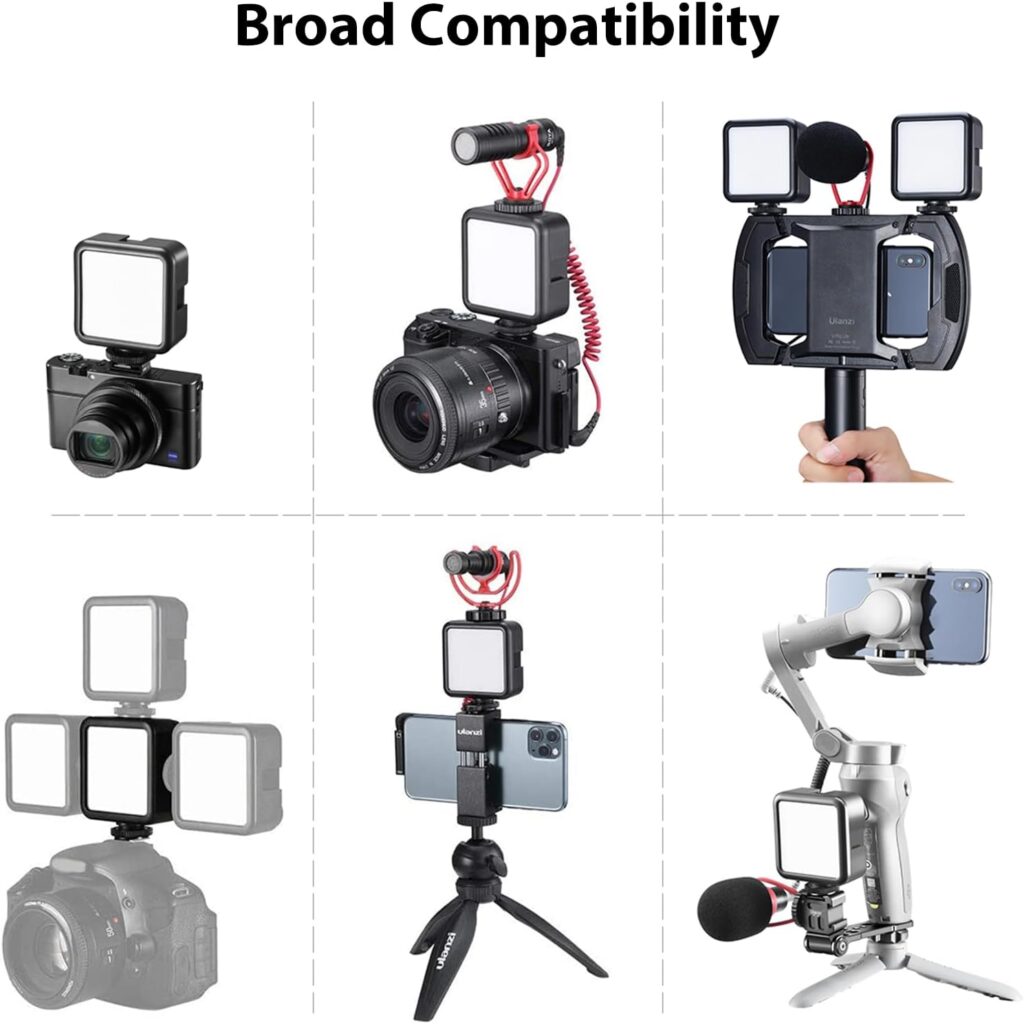
The VL49 is a compact rechargeable LED panel that works well for mobile creators and small setups. Plus, it comes with cold shoe mounts (one on top and two on the sides) for up to 3 additional accessories or to connect multiple light panels together. See mount options below.
NEEWER BASICS 2 Pack LED Video Light Panel Lighting Kit
A pair of larger LED panels allows you to create a more controlled two-light setup, with one acting as the key light and the second providing fill or background illumination.
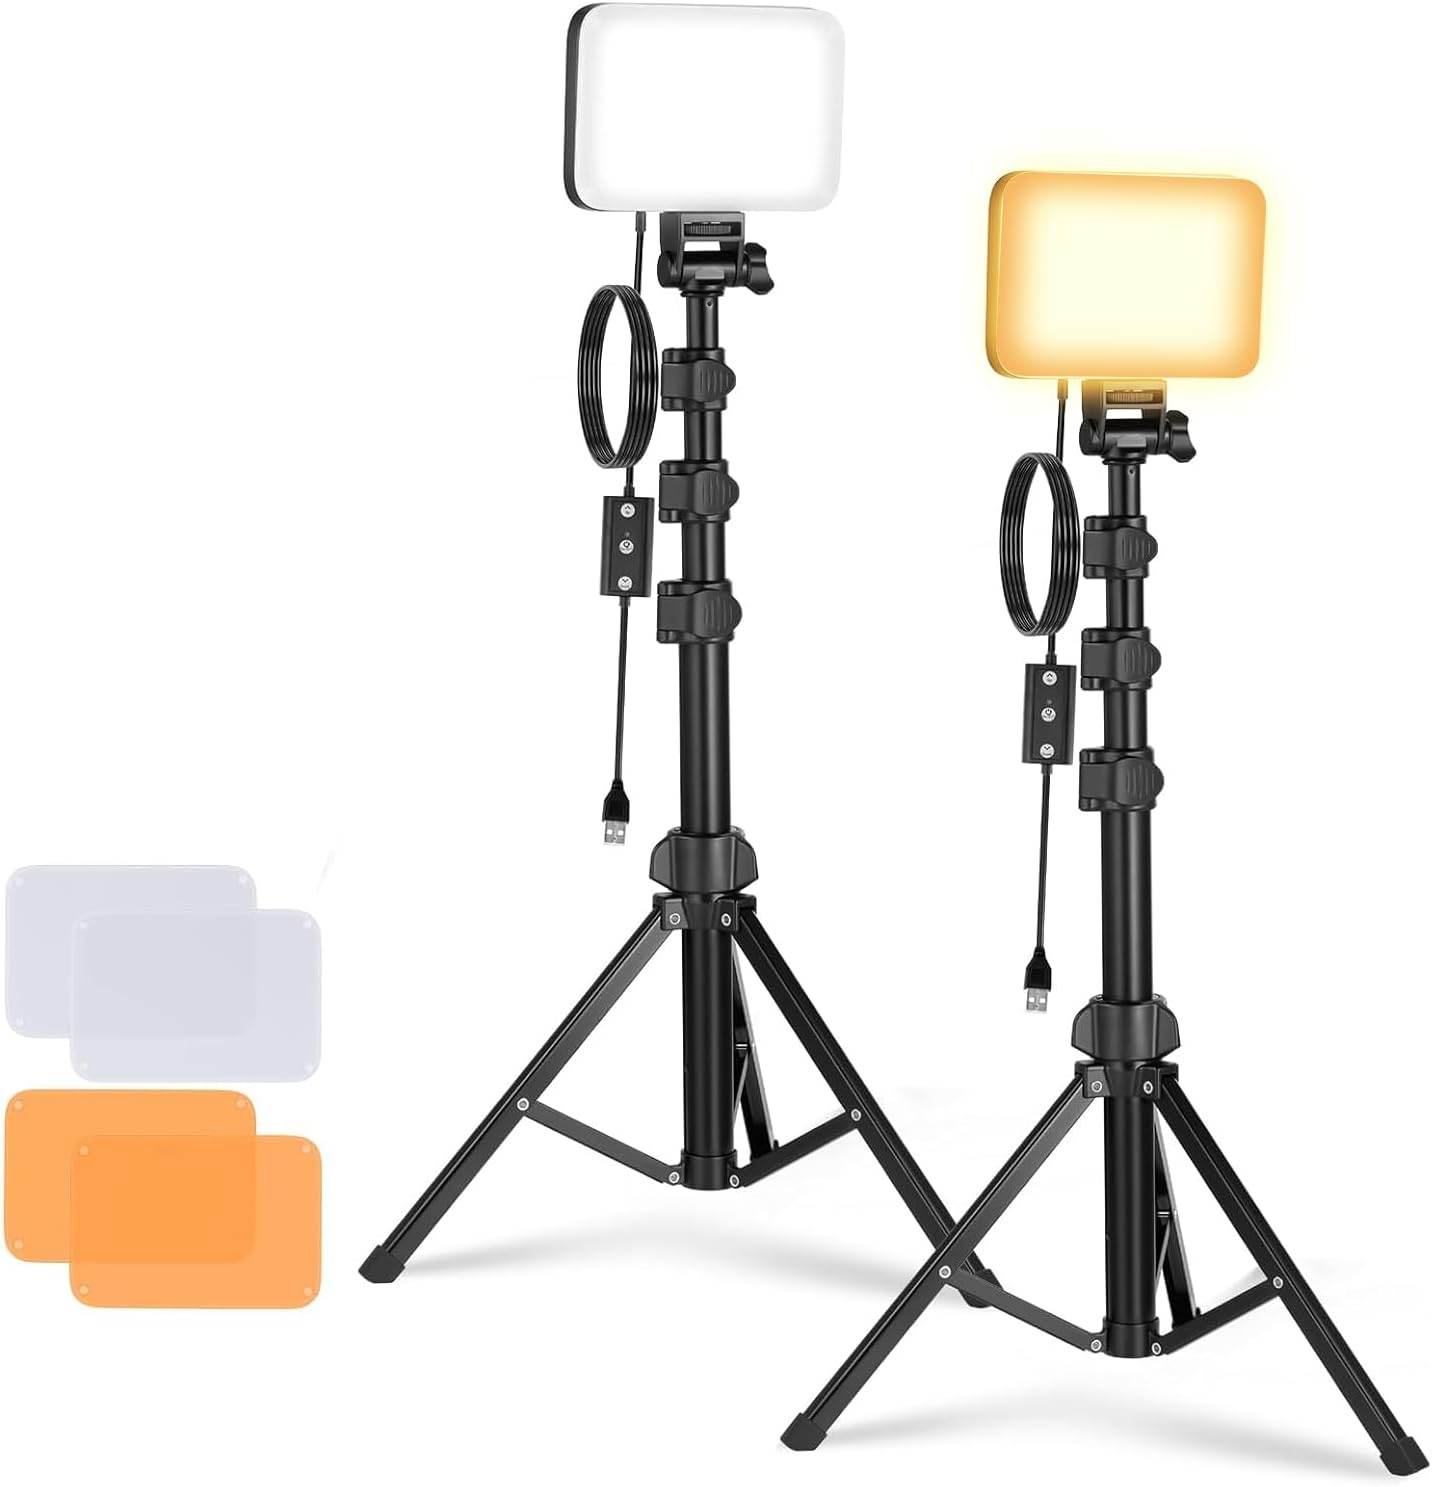
For an ultra-budget studio, you can even start with one LED light plus a window.
7. Bluetooth Remote Control: Start and Stop Without Touching the Phone
A Bluetooth shutter remote is one of those tiny accessories that quickly becomes indispensable. Put the phone on the tripod, frame yourself, sit down and press the remote to start recording. It eliminates the need to: Start recording > Run into position > Edit out the first few seconds > Walk back to stop recording. A basic Bluetooth camera shutter is enough for most smartphone setups.
Wireless Camera Remote Control
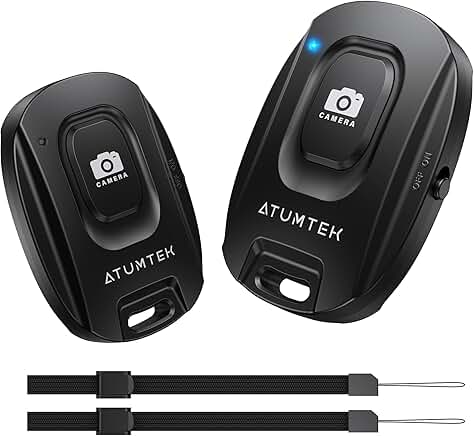
Some gimbals also provide remote control and tracking features, so you may not need a separate shutter if you already own one. Likewise, some tripod especially the selfie types also come with remote shutters making this purchase optional. And, if you have a gimbal that can also attach to a tripod, you could save yourself a phone clamp attachment.
8. Separate Video Camera: The Optional Upgrade
This is where I’d deliberately resist the temptation to spend too much. A dedicated camera can improve image quality, autofocus, low-light performance and lens flexibility, but it doesn’t automatically produce better videos. For many creators, the smartphone remains the easiest camera to use.
There are two interesting directions.
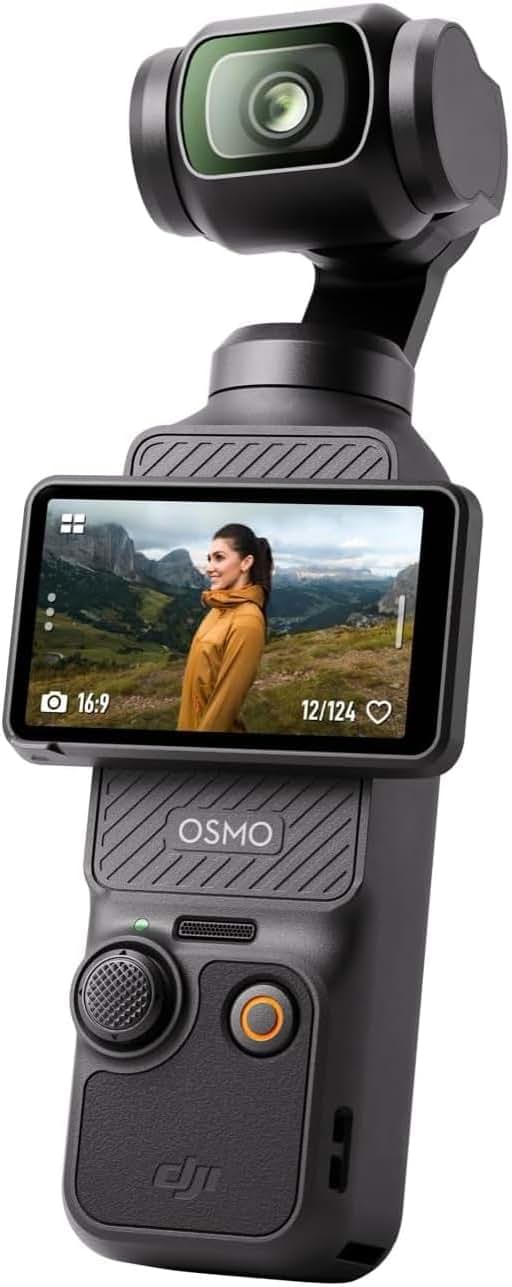
Compact creator camera: DJI Osmo Pocket 3
The Osmo Pocket 3 is an interesting upgrade from a smartphone because it combines a dedicated camera with a three-axis mechanical gimbal in a remarkably small package. It is particularly attractive for: Vlogging, Travel, Walk-and-talk videos, Product demonstrations, Moving shots and Outdoor content. The downside is price: it moves the setup out of the genuinely budget category.
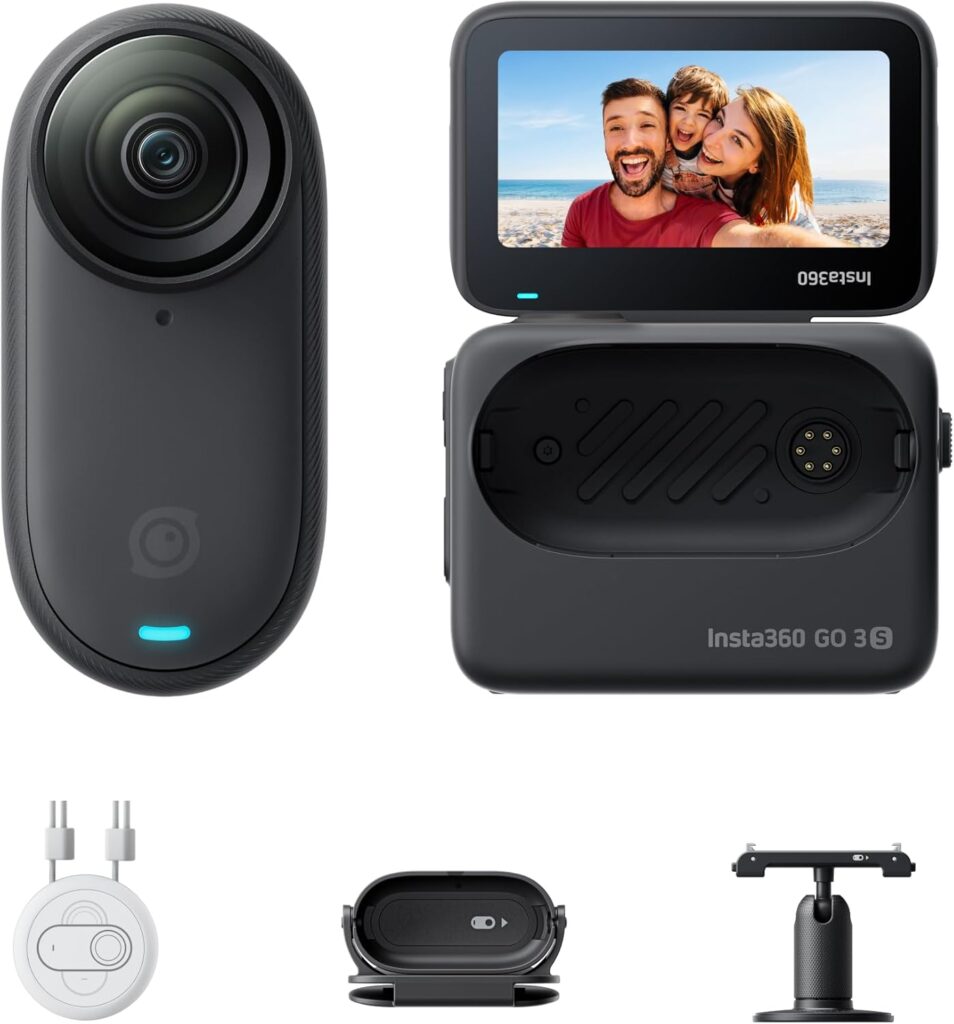
Ultra-compact alternative: Insta360 GO 3S
The GO 3S takes portability even further and is useful for creators who want unusual perspectives, hands-free recording and lightweight travel footage.
For a conventional studio setup, however, I’d still start with the smartphone.
Build Your Studio Without Breaking the Bank
Creating a good video recording setup does not require a dedicated camera, expensive lighting rig or a room full of professional equipment. A modern smartphone can already produce excellent video, and the right accessories can turn it into a surprisingly capable budget studio.
The key is to build the setup around the way you actually plan to record. A good Bluetooth microphone can make a bigger difference to perceived quality than upgrading the camera. A stable tripod and phone clamp give you consistent framing, while a gimbal becomes useful when you want smoother handheld footage or more dynamic shots. Add a decent light and your videos can immediately look more polished, particularly when natural light is inconsistent.
A Bluetooth remote control is another inexpensive addition that makes solo recording much easier. It lets you start and stop recording without walking back and forth to the phone, which is particularly useful for presentations, tutorials, product demonstrations and talking-head videos.
For creators who eventually outgrow their smartphone, adding a dedicated video camera provides a natural upgrade path. You can start with the equipment you already have, learn what works for your style of content and only invest more when you can see a genuine benefit.
The biggest advantage of this approach is flexibility. You don’t need to buy everything at once. Start with your smartphone, microphone, tripod, lighting and remote, then add a gimbal or dedicated camera when your content demands it.
The best budget studio is the one that gets you recording. A relatively small investment can give you the tools to produce clear, well-lit and professional-looking videos from home, without turning your spare room into a television studio.