How to Shoot Landscapes: 8 Easy Steps to Amazing Landscape Photography
If you think landscape photography is an easy genre and anybody with a camera can do it think again. Landscape photography is one of the most difficult photography genres. Your success will depend on several factors, not just your photography skills, but also the kind of equipment you use, the kind of planning that goes into your work, the kind of light you shoot in, and of course your post-processing expertise.
1. Absorb the scene
Many times we photographers are guilty of haste. We arrive at a scene, we look at it, often just take a glance, find something interesting and bang! We have already taken an image and it has not been even a minute we have arrived at a scene!
Even before the brain has processed all the information, even before one has absorbed everything that is going on an image has been made. The worse thing is, many of us feel that we have nailed the money shot with that single click and walk away!
If landscape photography was that easy everyone would have been doing it. Find out how many truly great landscape images have you seen in your social media feed in the last week? Maybe a few. But to achieve those few thousands of snaps have been taken and rejected.
Photography is the supreme test of the photographer. And it is said by none other than the legendary Ansel Adams. If you could shoot even 10 excellent landscape photos a year, consider yourself blessed. If you can shoot more than 20 you are a legend.
For the average photographer, I would recommend not picking up the camera to take a picture straight away after arriving at a scene. Instead, absorb the scene, find out what to expose for, what elements to keep in the frame and what to leave out, how to compose and frame the shot, and finally the exposure settings.
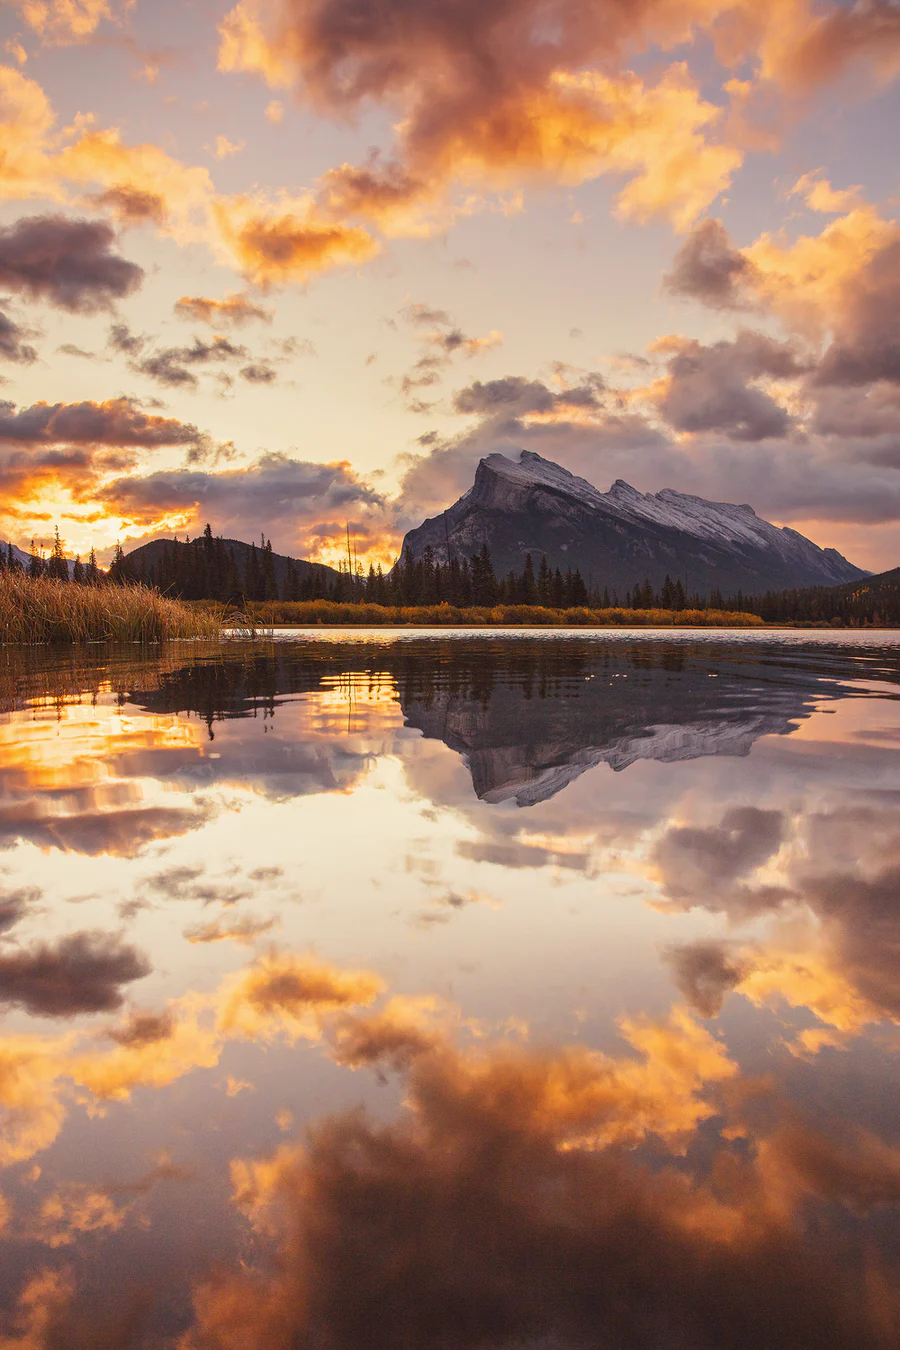
2. Always use a tripod
There is no such thing as hand-held landscape photography. Photographers go to extreme lengths to stabilize their cameras so that they can capture a sharp image. The go-to tool for that is the tripod.
Many photographers, especially those who shoot amateur photography or travel photography, especially those who shoot on vacations prefer to travel light. And that means often not packing a tripod or not carrying the right lens for landscape photography.
A tripod is a quintessential tool for all kinds of photography and not just travel photography alone. You can use a tripod to shoot selfies or group shots when there is no one around to click a picture for you.
Plus, with so many good quality carbon-fiber (these are lightweight) made tripods I don’t see a reason for someone not to carry one. You can easily slide it into your day pack and pull it out when you need it. Try this on your next vacation and you can thank me later.
3. Use the rules of composition
There are some very useful rules of composition that are often quoted and used by photographers. These include the rule of thirds, the rule of odds, leading lines, symmetry, balance, framing, and so on. Study these rules and then try and use them as much as possible in your photography.
Not all of these would be applicable in your case. Plus, you don’t have to forcefully use two or more of them in your compositions. It is just a guideline for you to incorporate wherever possible.
Sometimes, you may have to break the rules of photography to make a compelling composition. E.g., I mentioned symmetry as one of the rules of photography. It may be necessary to break that symmetry in your composition just so that you can capture something interesting.
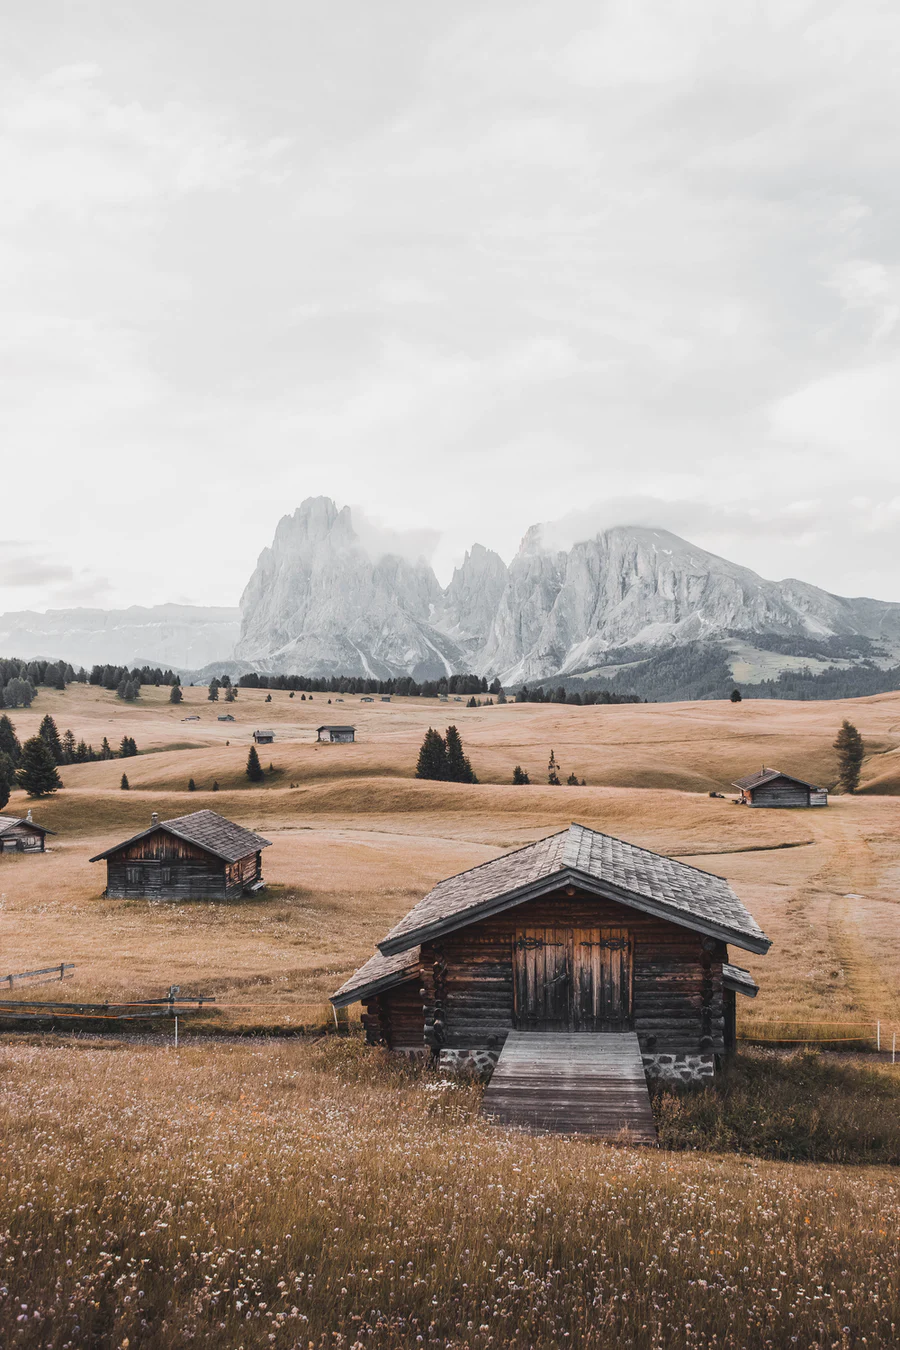
4. Shoot with a small aperture
You will often hear landscape photographers say that the best aperture to shoot is f/16 or thereabouts. F/16 is a very small aperture. It produces a large depth of field and that is an important consideration for shooting landscape photography because ideally, you would want to have most of the frame tack sharp.
There are two ways to achieve a large depth of field. First, you need to switch to a small aperture. Use the aperture ring on your lens or use the menu option at the back of your camera to select the smallest aperture that your lens is capable of shooting at without lens diffraction coming into play.
Second, use the Hyperfocal distance technique to maximize depth of field. I have explained hyperfocal distance in simple terms in the next section of this discussion. But it is a complex concept warranting a full-length article of its own.
A small aperture will block light that is coming from the edges of the lens. This has the effect of improving the overall sharpness of the photograph. However, as you keep stopping the lens further down, lens diffraction will set in.
Lens diffraction refers to a decrease in the sharpness of the image as you keep closing the aperture down to a small size.
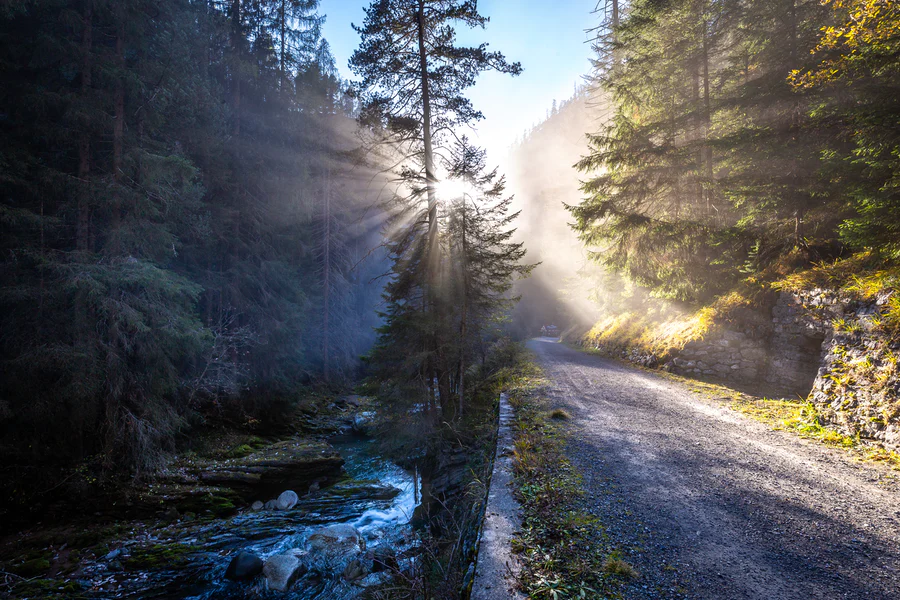
5. Use the Hyperfocal distance
Hyperfocal distance is a complex terminology as it involves lots of mathematical calculations. So much so that even professional photographers find it difficult to explain and even use.
Out in the field without a calculator or a reference chart, it is extremely difficult to even follow the hyperfocal distance. So whatever I am going to discuss is going to be limited to the simpler things.
If you wish to use hyperfocal distance there are apps available on both Apple and Google PlayStore. You can download any of those apps to calculate the hyperfocal distance on the fly.
Here is one of them for Android-based phones –
In very simple terms Hyperfocal distance is the distance at which you should be focusing your lens for the greatest depth of field. The applications for hyperfocal distance are the greatest in landscape photography because this is the main genre where you need a vast depth of field.
In landscape photography, if you are focusing on the background your foreground will be completely out of focus. In the same way, if you focus on the foreground your background will be completely out of focus. You need to find a balance between your foreground and your background maximizing the depth of field.
There are two distinct schools of thought when it comes to hyperfocal distance. One school says that the aperture you set will impact the hyperfocal distance. This comes from the logic that when aperture changes depth of field also changes with it.
The other school of thought states that hyperfocal distance is the point at which acceptable sharpness is equal both in front and behind that point. Even if you were to change the aperture that is not expected to change. And therefore hyperfocal distance is not impacted by the change in aperture. That said, the depth of field will change between two apertures.
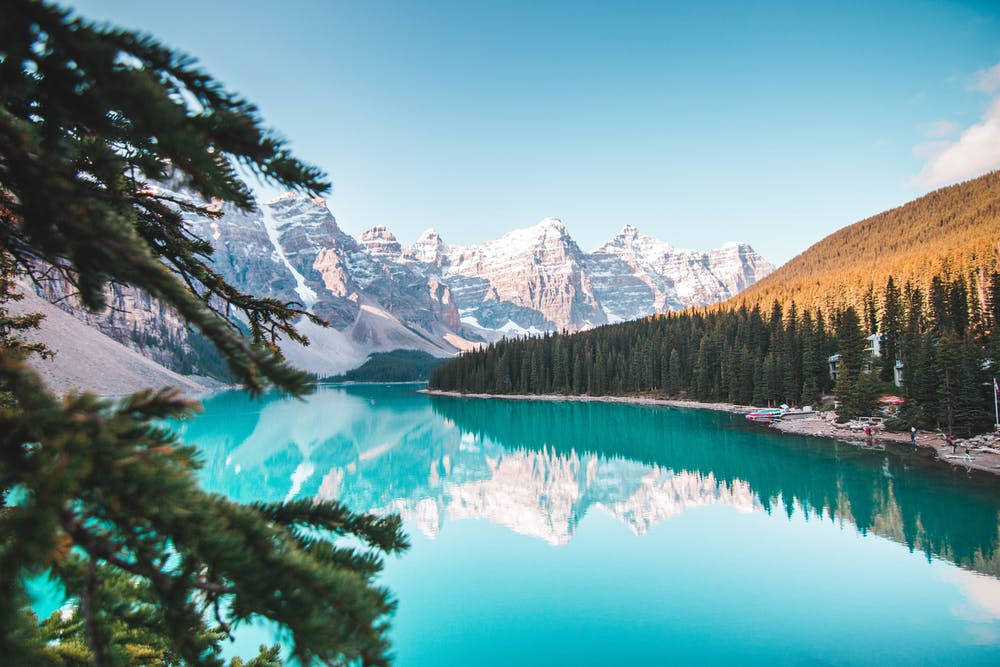
6. Always shoot in RAW
RAW format retains all of the data that the camera captured, without processing or losing that data. This means with a RAW file you have the option to push the shadows and get more details out of them, suppress highlights, adjust the mid-tones, adjust sharpness, work on the noise, and do any number of edits to the exposure and color balance. A RAW image is like a lossless format and thus the file size is also larger than a JPEG image.
JPEG on the other hand is a format that is already processed. Either by the camera using the built-in RAW to JPEG processor or by a third-party image processor like Adobe Photoshop or Lightroom or CaptureOne.
Whatever is the source of that JPEG it is already finalized. It does not provide any flexibility in terms of editing the image any further. Any further edits will only degrade the quality of the image and not add anything to it.
7. Learn to master the tricks of post-processing
For landscape, photography post-processing is a must. An integral part of post-processing is to ensure that you achieve a greater dynamic range. Sometimes you have to use HDR techniques where you blend in two or more exposures to achieve that high dynamic range.
You post-processing your images having shot in RAW format is the next logical step. With post-processing you can control the mood of the image by adjusting the color tones, pulling down the exposure of the sky, and pushing the shadows to increase the dynamic range.
These days ISO invariant cameras like the Sony a7III have made it possible to capture a lot of detail in a single exposure. Additionally, these cameras have a low noise threshold and therefore you can push the shadows comfortably up to 4 to 5 stops without the image suffering from too much noise.
8. Bonus tip – Shoot in the right light
Shoot only during the golden hours of the day. These are the times of the day when the sunlight travels parallel to the surface of the earth. You get very high contrast along with perfect illumination of natural formations which is impossible during other times of the day.
The interesting thing is you don’t always have to shoot with the light, you can experiment by shooting against the light and shoot your subject back-lit rather than front-lit.


