How do I download or transfer photos & videos from GoPRO HERO 9 to my Mac
Need to download or transfer your video footages and stills from your GoPro HERO 9 camera to your Mac, we look at what you need to get your camera connected and running.
Problem getting your Mac to recognise your GoPro HERO 9 action camera, here are the quick steps to make sure your camera is in the right mode to enable file transfer.
Users often find that the MacOS does not pick up the GoPro HERO 9 camera when connected for the first time. Simply connecting the camera to your computer won’t do. There are a few steps to take before doing that.
You will need:
- GoPRO HERO 9 camera
- The cable that your GoPRO HERO comes with (USB Type-A to Type-C)
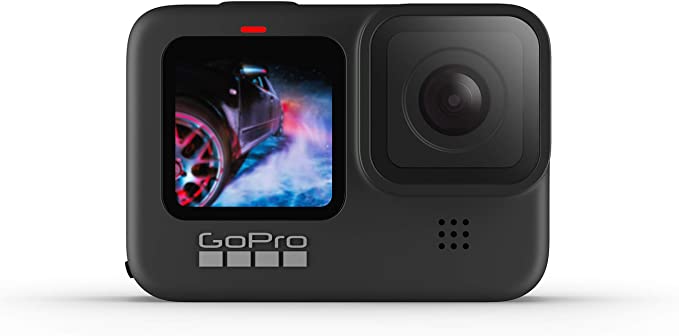
Before you connect your camera:
- Power up the camera (if you have it connected, disconnect now and then power up)
- Swipe down to access Preferences
- Swipe to left to access second settings screen. Here you will find Connections and Preferences.
- Tap on Connections then USB Connection
- Top on USB Connections, switch to MTP (the default setting is GoPro Connect). Swipe up to close Preferences and go back to camera mode.
Make sure you have your connection set to MTP. Here is why:
- You need MTP to enable file transfer via the USB connection
- To use the GoPro camera as a webcam, you will need to come back to connections settings and switch back to GoPro Connect
Make a mental note of the above, in case you need to use the camera as a web cam in the future.
To Download / Transfer files to your MacOS
Once you have completed the steps above, connect your camera to your Mac desktop using the supplied cable. If you are attempting to connect to your MacBook Pro or MacBook Air with only Type-C interfaces, you will need a Type-C to Type-C cable.
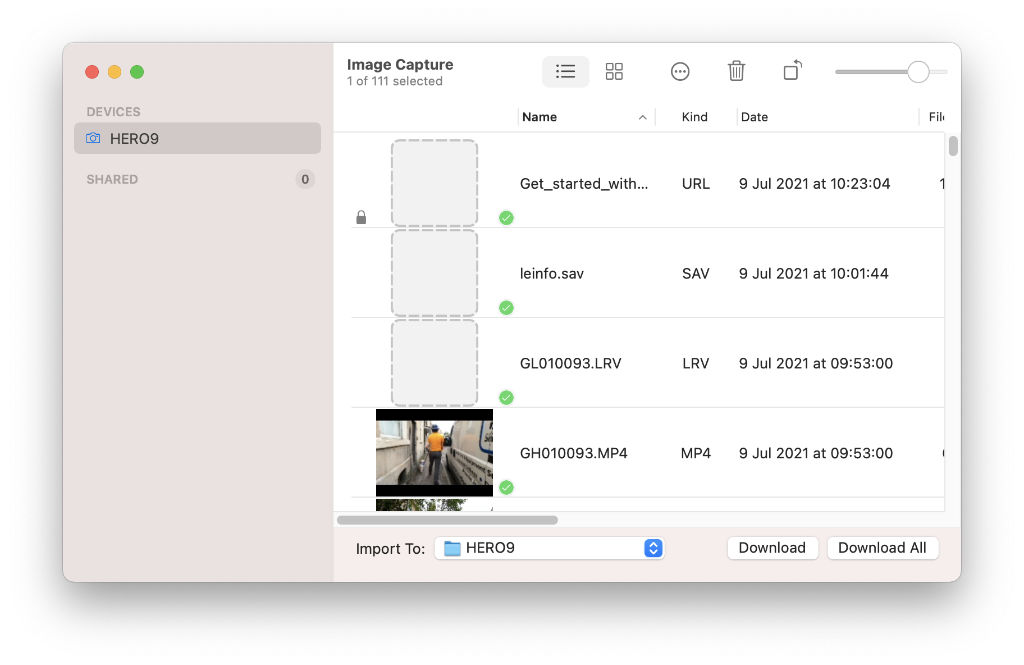
- Start Image Capture app (you can find this in under Applications or do a search in Launchpad)
- Click on HERO9 on the left column. If you don’t see this, disconnect and power off the camera then reconnect. Also, go back to previous section and make sure your camera is using MTP mode.
- Here you can preview and select the photos you wish to download in the main pane to the right.
- Before you click Download or Download All, make sure you know where the files are being downloaded to. Check the Import To: drop down field. Normally this defaults to Pictures. This will create a folder called “HERO9 BLACK” or “HERO9” (depending on your model) and transfer the photos there.
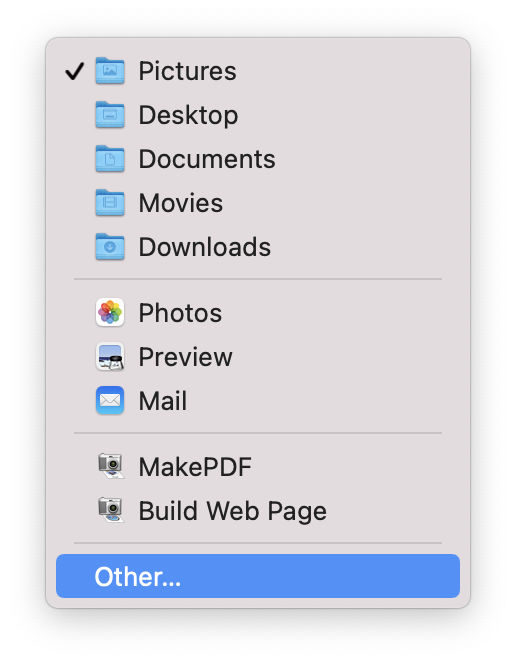
- OPTIONAL: To choose where you would like the photos saved, click on the drop down arrows and select Other… from the pop-up menu (image below). Use the finder to browse to where you would like to save the photos and/or create a New Folder then click Choose. In any case, it will create a subfolder called “HERO9 BLACK” or “HERO9” (depending on your model)
- Back to the main Image Capture window, to start transferring your photos, click Download All or Download for selected images and videos.
How to delete all files (images and video)
Now that you have all your photos and video backed up, browse to the folder on your Mac to review this. If you are happy you got everything you may decide to clear all the photos and videos on your camera and start again. Here are the steps:
- Power up your GoPro camera
- Swipe down to access Preferences, you will see quick buttons on the first screen
- Swipe left to access second settings screen. Here you will find Connections and Preferences
- Tap on Preferences, then scroll down and tap on Reset
- Tap on Format SD Card and confirm by tapping on Format in the pop-up window
When it finished wiping the SD card, return to main Preferences screen and swipe up to go back to camera mode. That’s it. The steps above apply to HERO 9 and other HERO action cameras from GoPro.






7th May 2024 @ 10:26 am
Thanks for sharing this helpful guide! I’m excited to try out these steps and transfer my GoPro Hero 9 photos and videos to my Mac. The instructions were easy to follow and I appreciate the detail provided. Can’t wait to see my footage on my big screen!