How to Choose and Install a Cooling System for Your Custom PC
Heat is an inevitable byproduct of electricity. Thermodynamics simply dictates that no system is capable of transferring energy directly without losing some due to heat. For electric components, this means that powering them will always result in increased temperatures within its system.
Some components, such as storage drives and memory modules, do not generate too much heat, and therefore can still work within its optimal limits even during heavy operation. Other components, however, will require the use of some form of heat dissipation to keep them from overheating.
A power supply may be critical for the standard operation of your PC, but a cooling system is also important in maintaining that very standard operation.
Like other components, there will be an entire list of choices that you need to remember when choosing the right cooling system for your PC. Don’t worry though, knowing each of these parts is pretty straightforward. You will understand exactly how they work once demonstrated.
Primary Types of Cooling Components
Operationally, almost all cooling components are simply rotating fans. Technically, fans push cool air into an intended direction, in order to redirect heat away from an object via convection. The difference is in the configuration of these fans, what exactly do they cool, and the position where these cooling components are installed around your PC.
1. CPU Coolers
This is perhaps the most important cooling component for any PC. As its name suggests, CPU coolers are directly mounted above the CPU, dissipating heat from the processor itself. A typical CPU cooler is made up of metal grid fin also known as a heat sink and a fan. Heat from the CPU is pass through to the heat sink with the help of thermal paste/compound, this is spread to the aluminum/copper grid fin on the heat sink and cooled with installed fans. Usually, the larger the grid fin or the fans, the better, as heat is dissipated better while still maintaining a relatively silent operation. CPU coolers are also divided into these general sub-types:
(NOTE: You’ll have to refer to the individual instruction manuals and/or videos of these coolers to learn how they are installed on your motherboard.)
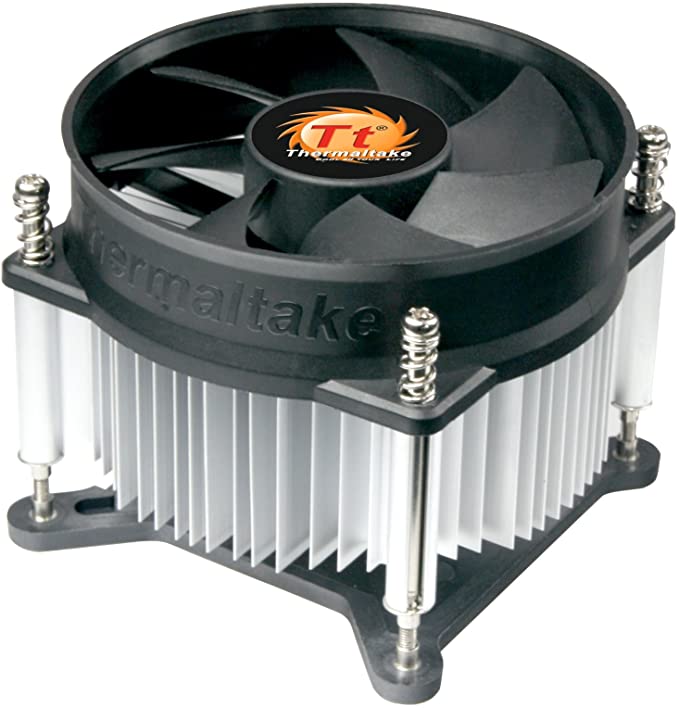
- Downdraft coolers – this type of cooler is characterized by a circular grid fin, and a fan that is installed at the top. During operation, the air is sucked from above and is pushed downwards onto the grid fin. While efficiency is limited due to lateral size constraints, they can be very convenient to use since the downward direction of the airflow also provides direct cooling to the motherboard VRMs. All stock coolers are downdraft coolers.
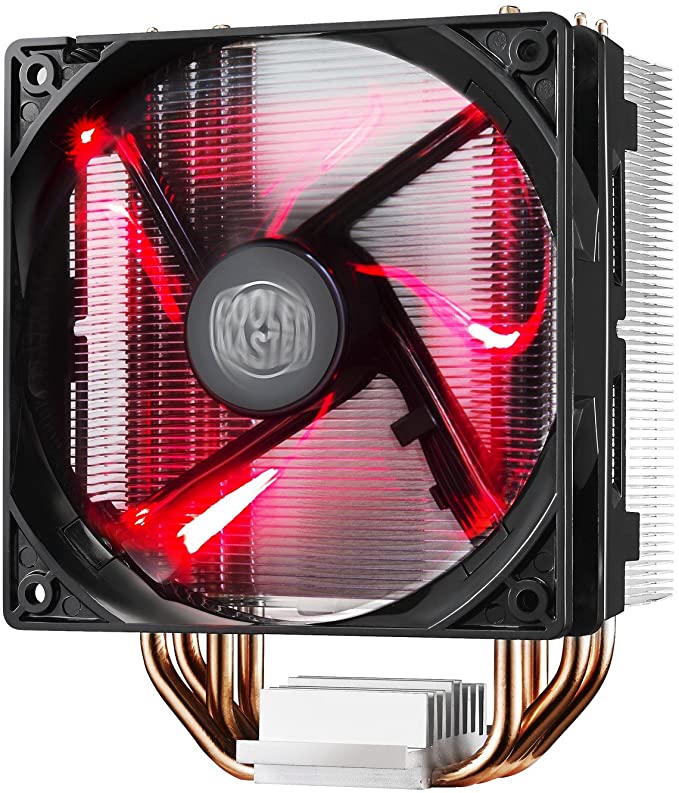
- Tower coolers – this cooler is visually represented by an entire block of grid fins, with the fan placed on one side. Their increased efficiency is simply due to the larger heat dissipation area. Because the fans are placed on the side. tower coolers can also help orient the general direction of the air inside the PC case.
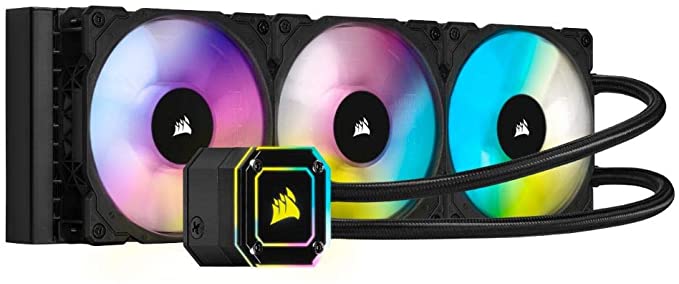
- Liquid AIO coolers – instead of installing a huge hunk of metal above the CPU, liquid AIO coolers instead opt to install a small primary conducting unit at the CPU, with the main radiator (heat sink) itself installed separately on some panel inside your PC. The liquid compound inside the tubes direct heat away, and are then cooled by fans connected to the radiator. AIO by the way stands for “All-in-One”.
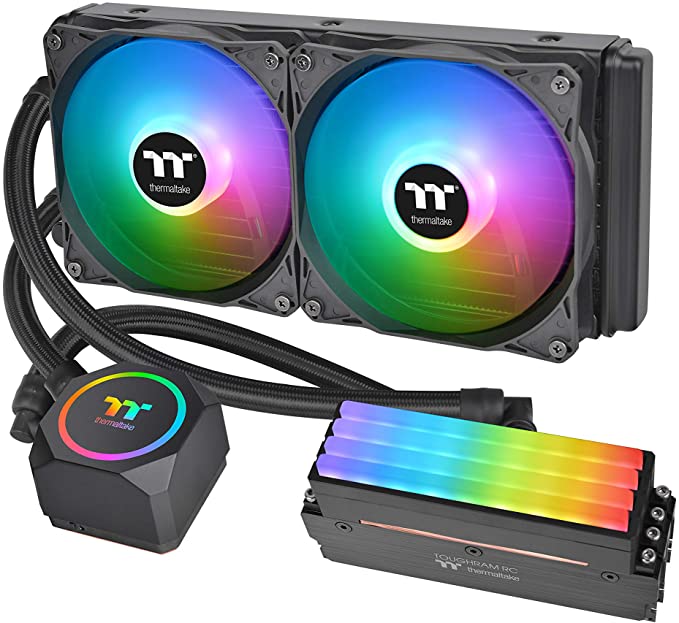
More advanced CPU AIO cooler comes with provision for memory modules too, see example below. Although in this case, the memory modules are specifically designed to work with the memory block for maximum heat dissipation. These special memory modules are sold separately, so be sure to do your maths and factor in the cost.
2. GPU Coolers
Another component of the PC that uses a lot of power, a GPU is typically installed with its own dedicated set of fans and heat sink. When the card is installed in the typical sideward fashion (fans facing downward), it sucks air from below to push it upward towards the heat sink, before being dissipated sideways. Third party graphics card cooler are available but not as widely available.
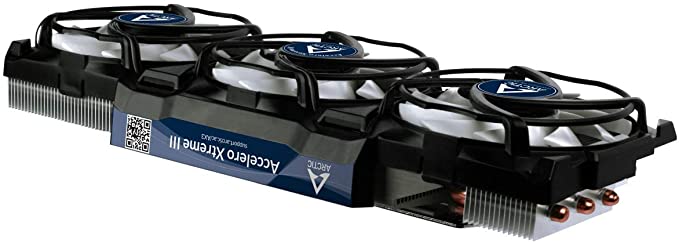
(NOTE: certain liquid AIO cooler systems can be installed on GPUs, though it would be necessary to take off its default fans and heat sink first.)
3. Case Fans
These are fans that can be installed on all sides of your PC. They are typically available in 80mm and 120mm sizes, with almost all of them now supporting RGB lighting. Standard full ATX cases can support up to 10 fans, while smaller micro-ATX cases might support 6 fans or less. Even in the most minimal of setups, at least one case fan on the rear is needed for any PC build.
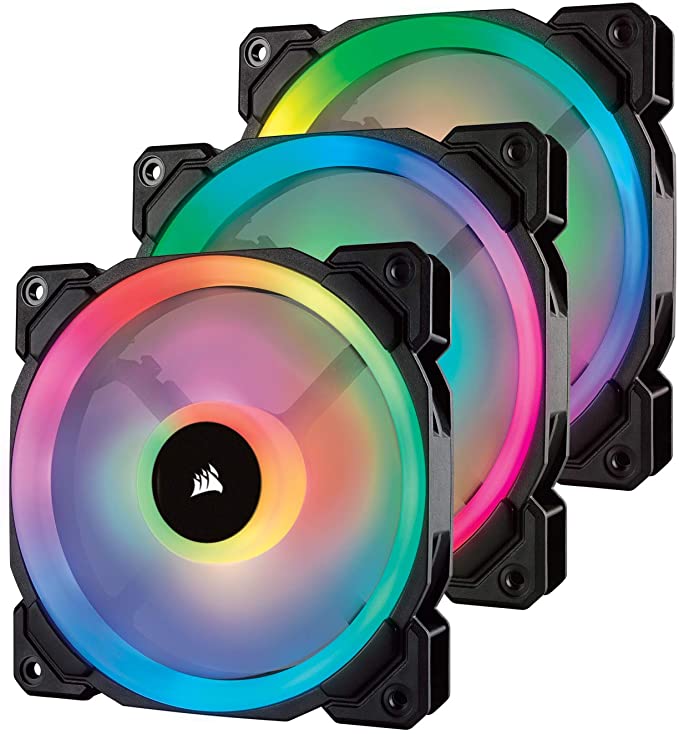
Power delivery to most cooling systems is provided in two ways, either via a motherboard header, or directly through your PSU. Motherboards can support either a 3-pin or 4-pin connector on the same header provided that you line up the snapping mechanism on both ends. If a 3-pin fan is used, fan speed cannot be controlled directly, and thus it will always spin at maximum speed. The same is true when the fan is connected via a peripheral/Molex PSU connector. If a 4-pin fan is used, fan speed can be variably controlled by any automated system on your PC.

Neutral Airflow, and Other Things
The main objective of any overall cooling system on your PC is to achieve what is called a “neutral airflow”. Positive airflow is when more air is coming from outside (towards the inside), while negative airflow pushes more air from the inside (towards the outside). Neutral airflow balances both incoming air and air being pushed out, to provide stable and reliable heat dissipation, as well as good particle filtration for your PC.
Here are a few pointers on the subject of neutral airflow, as well as other things that you might want to remember when configuring cooling fans on your PC:
- The most commonly used configuration is the front-in, rear-out, and top-out configuration. In other words, two or more case fans are installed as intake units at the front to push air inside, while one rear and two/three top case fans are installed as exhaust units to push air out.
- Oddly enough, the configuration that provides the highest rate of cooling (most degrees of temperature lowered), is the front-out, rear-out, and top-out configuration. Basically, all your fans are configured as exhaust, creating huge negative airflow inside the case. This is not recommended, however; because this configuration also introduces a lot more dust inside, possibly negating its benefits.
- You may opt to leave the top side of your case without fans, so long as there is still sufficient airflow to cool your components, particularly to your PC’s motherboard.
- The radiator of your liquid AIO cooler can be installed on the main internal panel for some PC cases. Counting the fans also connected to it, it can potentially extend the number of maximum fans of your case to 13. This might seem overkill at first, but be sure that the entire system still has one overall airflow direction.
- As mentioned earlier, it is always recommended to install the fan of your tower CPU cooler on its right side. This will help keep airflow constant, as incoming air from the front fans would flow into it, and then would blow onto the grid fins, finally guiding the air all the way towards the rear fans.
- Stock coolers by themselves are not that bad. Yes, even the much-lampooned Intel stock cooler can still work relatively well with entry-level and mid-tier CPUs. That’s potentially one less additional investment for your system if CPU coolers may be too expensive for your build.
- When installing CPUs for the first time, the included stock cooler would usually have its thermal paste pre-applied on its contact plate. Be careful where you position or place it, or else you would have to use additional thermal paste if the default thermal paste gets accidentally wiped away.
- Please refer to the Do’s and Don’ts section of our previous CPU article for details about the use and application of thermal paste for CPU coolers.
- The optimal operating temperature of CPUs and GPUs will sit at around 60 to 70 degrees Celsius under load (when it is busy). While some enthusiasts will insist that anything above 70 is not recommended, it is still very, very far from most thermal limits, and should be fine for many years of operation. In other words, so long as temperatures don’t constantly reach 80 or more during heavy use, your PC should be fine.
- Water cooling systems need so much more maintenance work than air cooling systems. Be sure that you are prepared for this type of commitment to keep your PC in good working order.
- Don’t forget to dust your cooling fans every few months or so. The buildup of dust can significantly hamper their effectiveness, and might potentially even cause some coolers to be clogged. When dusting your fans, a compressed-air can spray is recommended, and do not forget to turn off and unplug your PSU first.
- Overclocking components requires far more investment on cooling systems due to the exponential power draw requirements, so keep that in mind.
Lastly, it is highly recommended that you download component monitoring software for your PC, so that you can to constantly check the temperature of your components. A few good recommendations are:
- Ryzen Master Utility (for AMD Ryzen CPUs)
- HWMonitor
- CoreTemp
- GPU-Z
- CPU-Z
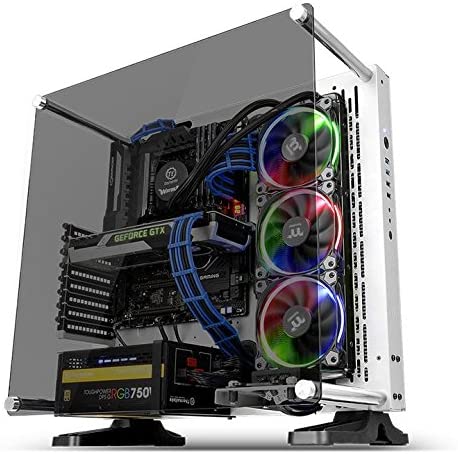
Going for the Visual: Taking liquid cooling to the next level with custom modding
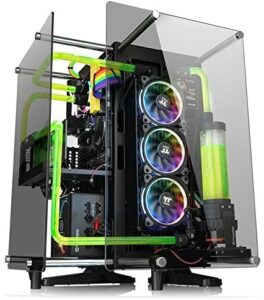
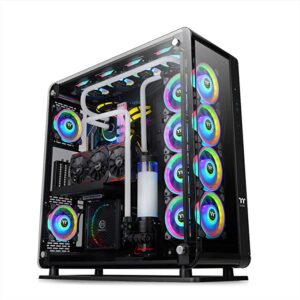
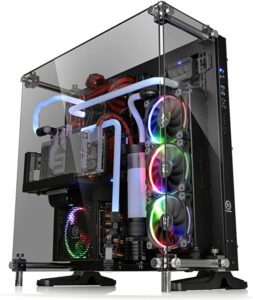
This is where we take the CPU liquid cooling to the next level. Instead of just the stock connecting tubes to pass liquid coolant through the CPU heat sink in the CPU block, these flexible tubes are replaced with solid see-through plastic pipes. It will still take the coolant to and from the fan cooled radiator but with a bit more pizzazz. Basically, it is to take the standard AIO Liquid Cooler system above to something that resembles the examples below.
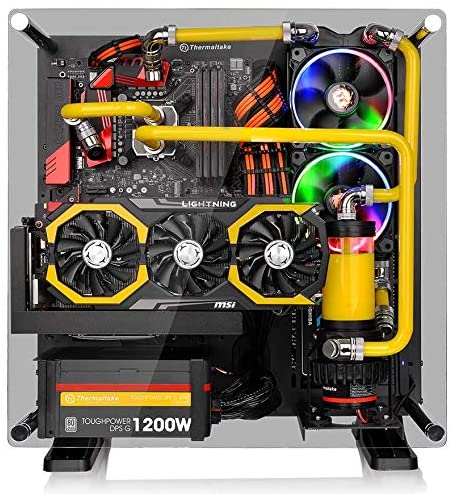
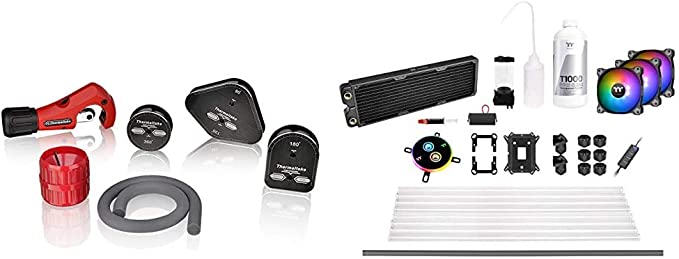
The network of tubes are custom designed by the PC builder to fit the case, motherboard, CPU and radiator layout considered. In essence, when finished, it will replace the close loop system offered by those flexible tubes to move coolant between the CPU block and fan cooled radiator. It is no easy feat and requires a lot of planning, patience, and hard work to mod the system. Here are some things you will need, most of them are available in kit form.
- Tube 8mm, 10mm, 12mm or 15mm in diameter
- Various Mandrels for stylish bending 45°, 90°, 180°, and 360
- Tube cutter and reamer
- Soft silicone bending insert for shaping rigid tubes
- Compression fitting to connect to tubes to radiator
- Coolant pump and reservoir combo unit
- Extender fitting
Final Words
Cooling systems, while not as expensive as other systems on your PC, still require a proper amount of investment before they can offer the level of performance optimization that they can bring. This is especially true for CPU coolers, where quality is of considerable importance for stable performance.
That being said, there is a certain level of freedom when it comes to using case fans. Due to the simplicity of the components’ operation, you may opt to choose cheaper brands, without having to worry too much about components breaking down. Additionally, you can adjust your expenses as you please, using more case fans for one build, and using less for another.
Edited by Samuel J Tan
